
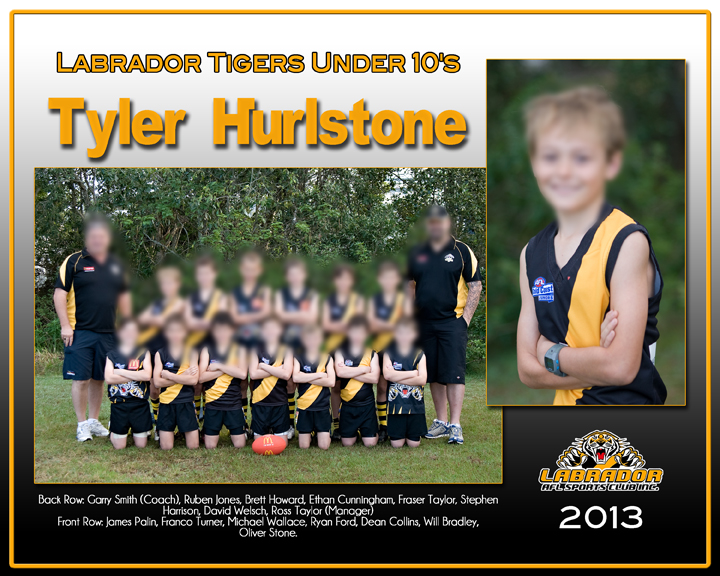
Under 10 Boys AFL Team Photo
It’s the time of year that winter sport is coming to an end and the opportunity to get that memorable “team photo” is here. I am doing a lot of them at the moment. Team photos are not difficult to take, and if you get the shot right, and you have someone who can put a template together with the players’ names etc you are sorted.
Here are some tips to help you get great shots that you’ll be proud to share:
1. PICK YOUR SPOT – In front of the goal posts, in front of the clubhouse, in front of a hedge… give some thought to where you’ll put everyone before you get the actual players involved. It’s quicker to spend a couple of minutes planning it in your mind than it is to set everyone up and then move them all because you realise that the background is too messy.
2. WHAT CAN YOU SEE? – So what can you see will be in the background? Try and set up somewhere where you don’t see people wandering around in the background – it is very distracting. Using a hedge or a wall (graffiti-free) is a good idea. The goal posts are great for a soccer team if the fields behind are clear.
3. HOW’S THE LIGHT? – Don’t put your players looking directly into the sun. Everyone will be squinting and it’s not a good look. If the sun is high overhead it might be okay but be careful of dark shadows on the faces. Put your flash on to fill in the shadows – that should help. You can also take the shot with the sun to the side of the group – again be careful of shadows, and sunlight hitting the tips of noses etc. I always like to find a shady spot and then I don’t have to worry about bright sun and dark shadows. It’s not always an option though, so then I use my flash.
4. POSING THE GROUP – Team photos are usually a pretty standard set-up. Often they are taken outside with no props so you have to use body positions to create different levels. Have everyone line up and sort them “shortest to tallest” or the other way around. Split the group into 2 (if you have a group larger than 20 you will probably need to find some chairs or steps to help you out). Put the tallest member of the “shortest” group in the front in the centre. Alternate the rest of the “shorter” players to each side of the centre player. Have this group of players kneel down. Repeat the process with the remaining players, who will then be standing in the back row. The standing players should put their feet in the space between two of the players in front of them, so that their heads are not “stacked” directly above. Place the Coach and Manager to each end.
5. HANDS? – Depending on the sport you might ask the players to fold their arms (works well with guys) or clasp their hands in front (better with girls). Try to get a uniform look to everyone’s positioning.
6. THE CAMERA – Use a tripod if you have one, it means that you can interact with the team while you are pressing the shutter release. The easiest way to set the camera is to put it onto ‘Landscape’ mode – you will have to manually set the flash to fire as it doesn’t normally fire in ‘Landscape’ mode. Or set your aperture to something like f8, so that you have enough depth of field to get all of the players in focus. Allow extra width in case your lens is a bit soft at the sides – better to have blurry grass than blurry players.
7. GOOD LUCK! – Be organised and work fast, try not to keep players waiting too long. Little ones especially have a short attention span! If it all sounds too much then call a professional sports team photographer – me!