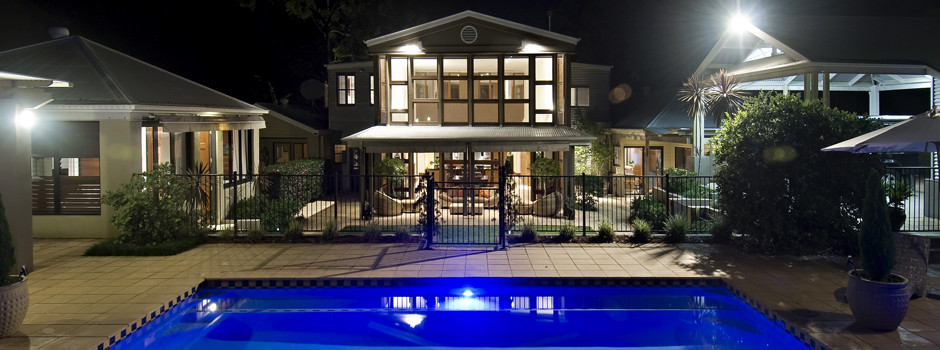
Stunning property photo at night with an inviting pool…
When you are selling a property, it’s vital to have great images.
This image is part of a property photo shoot that I did for a client in Brisbane when they were putting their house for sale online. It was a large semi-rural property with horse paddocks, multiple utility sheds, a dam and a guest-house. Gorgeous. Big with lots of aspects to cover, so I was working fast.
I arrived quite late in the afternoon and the first thing that we did was turn on all of the lights – inside and out. I had a list of the shots that I needed and started outside so as to make the most of the available light.

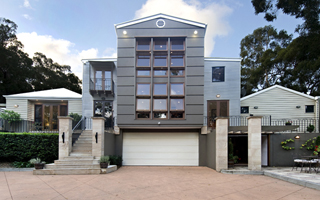
Great image of the front of a gorgeous house.
I started with this image of the front of the house. Because I was standing down on a sloping driveway, looking up at the 3-storey building, there was always going to be a problem with converging lines. Specialist Property Photographers will use a “tilt-shift” lens, which eliminates this problem. I had to use an editing program to correct the converging lines. I set the camera on a tripod and took 3 different exposures to allow for a light sky, reflective windows and dark shadows. The three images were then merged together after the shoot to balance out the light levels. So this was a time-consuming image – but the end result was worth it.
I then shot the other outside images – all using a tripod and an 18-24mm lens. Not always at it’s widest angle of view – you have to weigh up the distortion at the sides of the image with the width of view that you want to achieve.
The shot at the top of this post was taken just after sunset. I used a tripod and a slow aperture. I also took multiple exposures – so that I could get detail of the interiors as well as the exterior.
After the outdoor images were done I moved inside. I went through each room looking for the best positions to take the shots from. When you shoot property, cast a critical eye over everything – remove any clutter and unnecessary decor to give the rooms a sense of space. You can remove items from an image afterwards but it’s a time-consuming process and it’s much easier to clean up before you press the shutter release.
Set your tripod at just above hip-height to start. This is usually a good height. Make sure that your camera is level otherwise you will get tilting verticals. Take 3 different exposures for each image. Then you have something to work with post-processing. Better to take too many shots rather than wish you had taken more when it’s too late.
When you have finished shooting, move everything back to where you found it and leave the property as it was when you arrived. Be considerate of your clients.

